On RHEL / CentOS:
1. Insert the following lines into /etc/yum.repos.d/sql-server.repo:
To install the MS SQL Server command-line tools, create /etc/yum.repos.d/msprod.repo with these contents:
2. Then install the packages using yum package manager, as usual:
When the installation is complete, you will be reminded to run the configuration script (/opt/mssql/bin/sqlservr-setup) to accept the license terms, set the password for the SA user, and start the service. Additionally, you can choose to enable it to start automatically on boot.
3. Open port 1433/tcp on your firewall in order to allow external clients to communicate with the database server:
If you’re using firewalld:
Otherwise (using iptables):
On Ubuntu Server, do:
1. In order for Ubuntu to trust the packages from the MS SQL Server repositories, import the GPG keys:
2. Add the repositories to /etc/apt/sources.list.d/sql-server.list:
3. Resynchronize the package index files and update the core package and additional tools:
4. Run the configuration script as in the previous case:
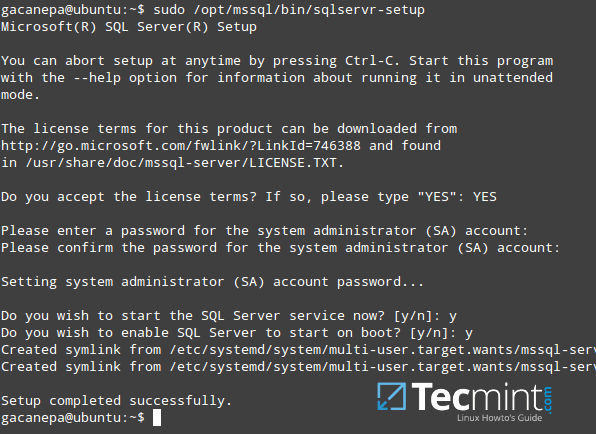
SQL Server Setup on Linux
5. Choose “Yes” when prompted to accept the license terms for MS SQL Tools:
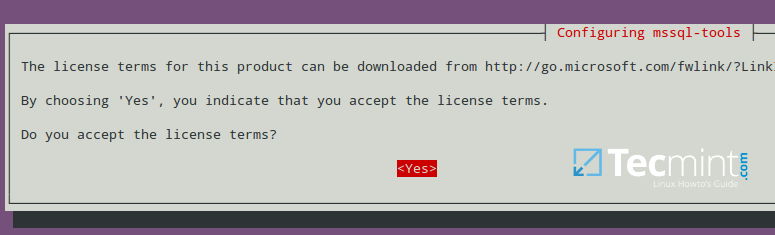
Configuring MSSQL Tools on Linux
Testing MS SQL Server on Linux
We will login to the server and create a database named Fabrics. The
-P switch must be followed by the password you chose when you installed the package previously: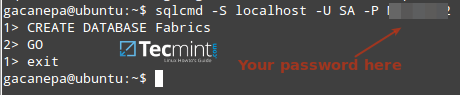
Create MSSQL Database on Linux
If you’re using Linux, you can continue using the command-line as shown above. Otherwise, install SQL Server Management Studio Express if you’re on Windows.
Once done, enter the IP of the database server (192.168.0.200in this case) and the login credentials (username=sa, password=YourPasswordHere):
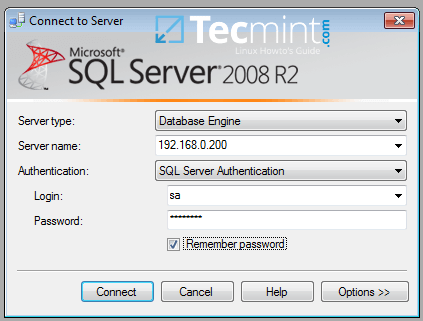
Connect to MSSQL Server
Upon successful login, the Fabrics database should appear at the left hand side:

Confirm MSSQL Database
Next, click New Query to open a new query window where you’ll insert the contents of the Fabrics script from Codeproject.com, then click Execute.
If successful, you will see the script created 5 tables and the number of records in each:

Create a Sample SQL Database
To wrap up, run the following query to retrieve the first 5 records from the Clients table:
The results should be identical to the output in the following image:
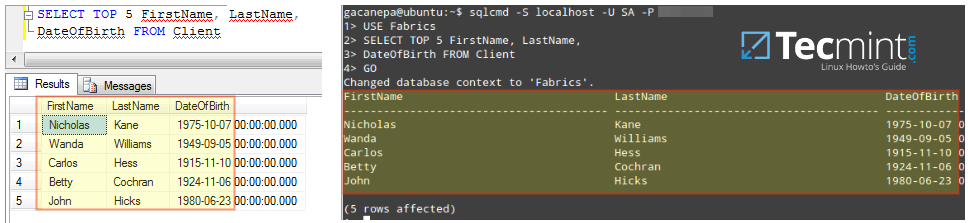
Run MSSQL Database Queries on Linux
Congratulations! You have successfully installed and tested MS SQL Server on Linux!


